We’ve been on quite the journey the last couple months with detailing an RV. A few weeks ago we spent some time on the inside of the RV talking about the interior detail. Today I’m going to talk about the final step of the RV detail, the RV exterior wax. There are a few different ways that you can wax an RV. They can range from a spray wax or sealant that is applied by hand with a spray bottle and microfiber rag to a wax or sealant that is applied by a buffer or a palm polisher.
The RV Exterior Wax Pre-Check and Prep
Before applying any RV exterior wax, you will want to double/triple check to make sure all of the bugs and debris have been removed from all surfaces that will be waxed.
Another thing to keep in mind is that much time will be spent working on the upper half of the RV. In most cases that will require climbing a ladder, working, moving ladder, and repeating. Be prepared with extra rags, extension cords (if needed), sunglasses, etc. Being prepared and having all that you need will make this big job go a lot smoother.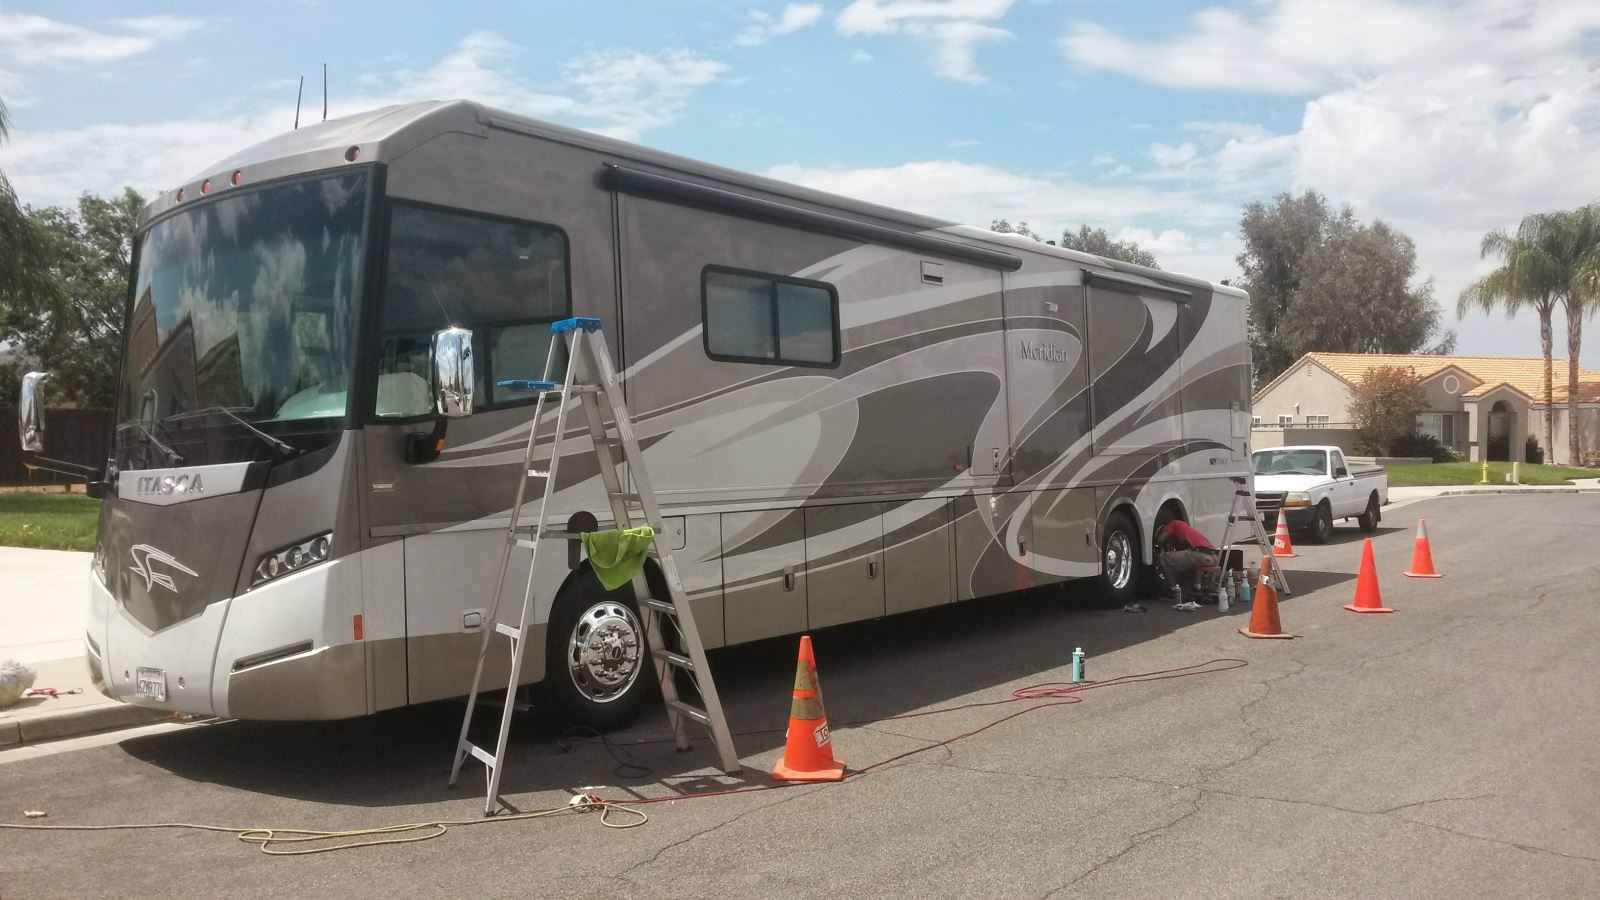
Spray RV Exterior Wax or Sealant
First, I will talk about the spray RV exterior wax that is applied by spraying and applying by hand with a microfiber towel. The process of applying the spray wax will be an easier and more convenient work load for someone with minimal time or limited budget. As I mentioned though, the longest part of the application will be the process of moving up and down the ladder and moving the ladder. An obvious, but a very important thing to remember is to make sure that the ladder is stable before you climb and work. While working on the top half of the RV exterior, you will spend much time on the ladder so be sure to make sure the ladder is properly placed. The way I prefer to start is at any corner of the RV. As you work and move along the RV, pay close attention to the areas that you are waxing. While you are on the ladder, it is fairly easy to lose track of the areas that you can reach and can’t reach while you are working. An easy method is to pick out something that you can keep track of such as an edge of a painted area, decal section, a window, a vent, a storage compartment. Without this method it can be easy to lose track of areas that have and have not been waxed. It may sound funny but it’s important to stay focused when you are waxing an RV.
Another thing to remember is that you are going to want to make sure that you have plenty of microfiber towels on hand. One towel will be able to do anywhere from 4 to 6 feet of the RV. Depending on how well the surface is prepped and how much wax you spray will be factors as well. If you start noticing the wax not adhering to the paint as well or start noticing streaking it will be time to switch rags. Using spray wax will also give you the opportunity to do more than one coat in a short amount of time. Many spray waxes will still take time to adhere to the paint and fully cure even after the application process. This step can be very customizable with so many quality spray waxes and sealants to choose from. It will allow you to do more coats if desired. More coats or layers will not only protect the surface of your RV for longer but will lengthen the time between now and when you have to wax it again.
Spray RV Exterior Wax or Sealant
Another method to waxing an RV exterior is using a higher quality wax that is applied with a buffer or what we like to call in the detail biz, a “palm-polisher”. The process for this type of application will take even more focus and attention to detail. It will also take a significant time longer than the spray wax. The reason being after being applied to the surface. The wax (or sealant) used will take a little bit of time to cure. It should only take about 30 seconds to a minute before you should wipe it off, but his can vary greatly depending on the type of wax/sealant you are using and the conditions in which you are working. This method of waxing will take much more time than the spray wax for just that reason. This type of wax will still adhere to the paint after the “wax-off” step and this will also allow you to go back and do another coat if desired. As I said, this method will take a significant time longer than the spray wax but will last much longer in most cases. On average, doing a 30” RV could take anywhere from 3 to 6 hours, depending on your determination and caffeine intake. Be sure to keep an eye on the pad you are using as well. It will most likely need to be changed a couple times while applying the wax. If you only have one pad, rinsing it out extremely well with hot water will work. You will know when the pad is ready to be switched or washed when the wax starts collecting on the pad. The quality of the work will continue to be more and more diminished the longer you continue to work with an oversaturated polish pad. The wax will not attach itself to the surface as well and you will actually need to use more and more wax as you go. It may also cause it to not look evenly waxed and will look patchy.
Mixing and Matching RV Exterior Wax
I’m going to give away a little secret right now to make the whole waxing process hopefully more easy for someone. When you think about the area of the RV that takes the most damage and has more exposure to the elements you will most likely think about the front of the RV. Something that has always been an easy sell for me for people that want to take care of their RV but not spend an arm and a leg is doing a buffer/machine RV exterior wax on only the front section of the RV and spray waxing the rest of it. Pretty brilliant stroke of genius isn’t it? The higher quality wax will protect the front for an extended period of time while the spray wax on the sides will still be protecting but you will not need as much protection for the sides and back because they obviously will not take as much damage but will remain protected. This is a really good method for 5th wheels especially.
Well there you have it. Over the course of the last couple months we have gone over the cleaning and detailing of an RV. I hope you have learned something that is beneficial and can help you in the future. Have a fun safe summer! Safe Travels!
by Andy Stallings, CD, Operations Manager, Onsite Detail