UTAH’S DETALING SERVICE
FROM COUPES TO SEMI TRUCKS WE ARE FULLY EQUIPPED TO HANDLE BIG AND SMALL DETAILING JOBS FROM INTERIOR CLEANING TO FULL PAINT CORRECTION.
REQUEST APPOINTMENT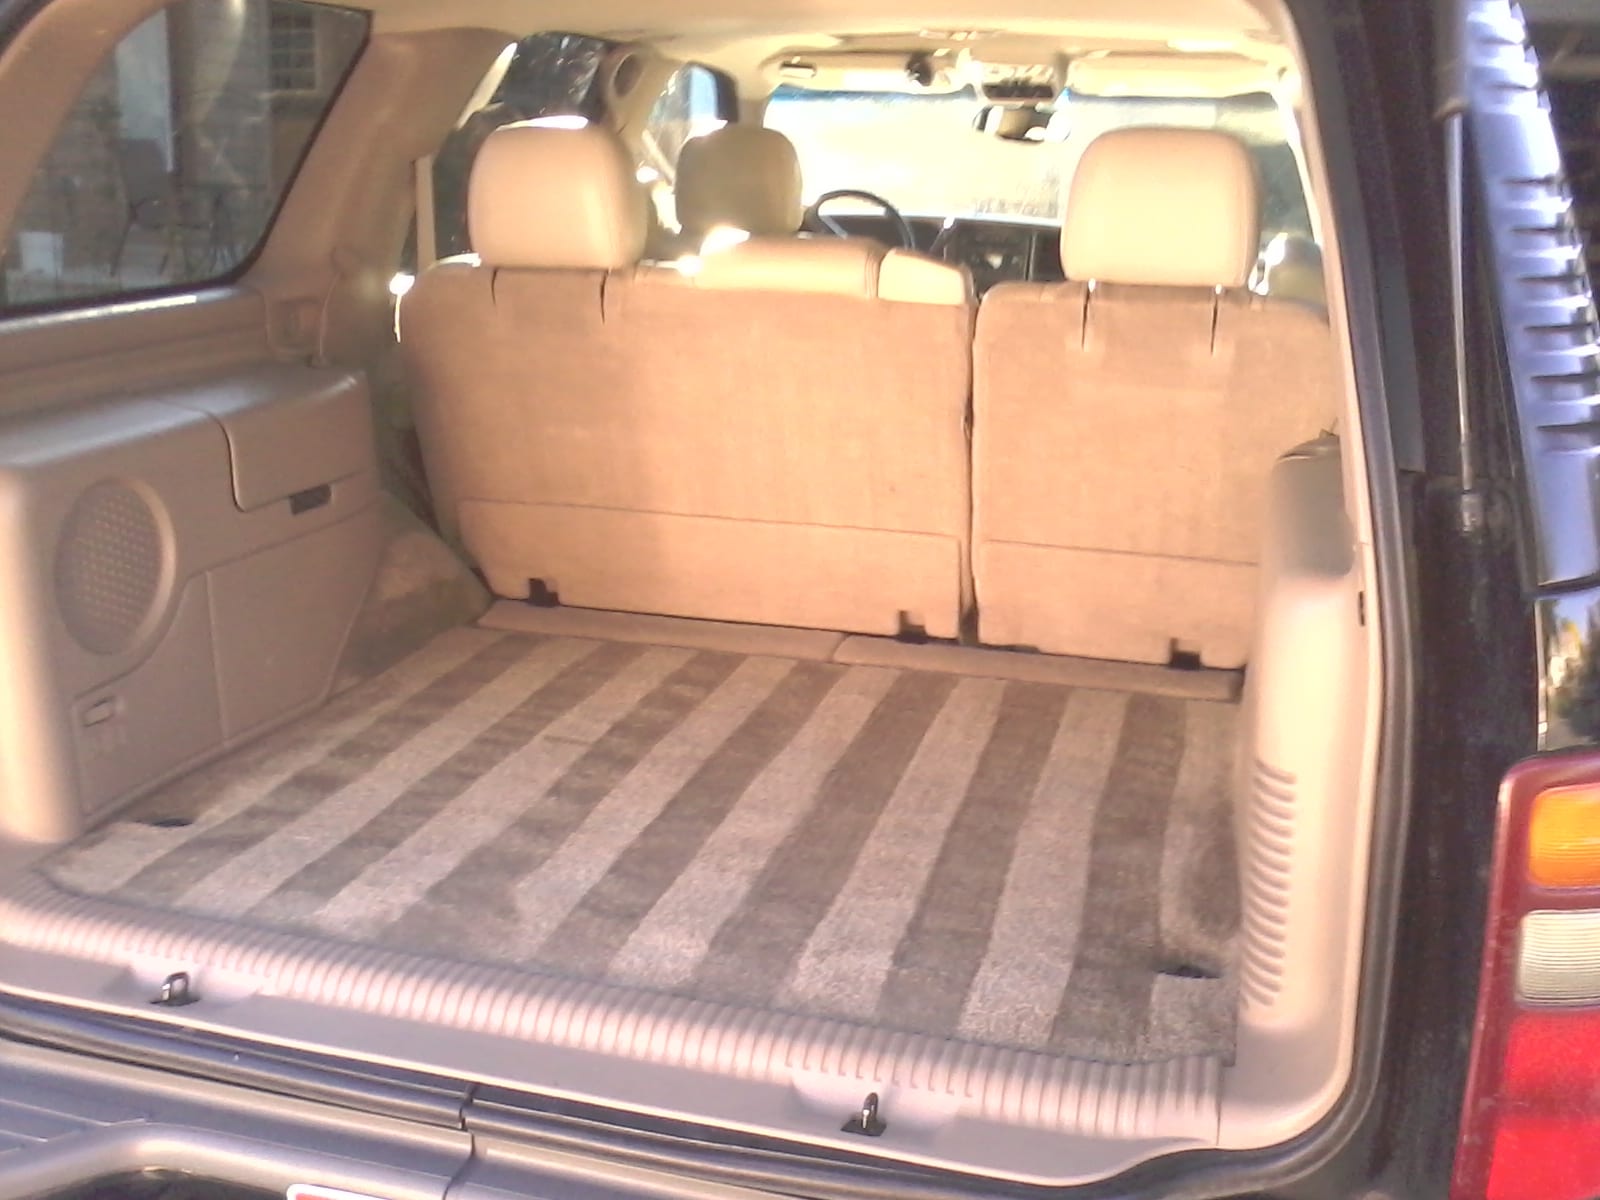
How To Clean Vehicle Carpet
Posted December 19, 2018 by Chris Blaisdell, Onsite Detail
Vehicle Carpet Takes the Most Abuse
Out of any part of your vehicle’s interior the area(s) that take the most abuse and get the dirtiest are the floors. There are some, mostly commercial vehicles that have vinyl flooring. Most cars have carpet. This is due to the fact our shoes and other things drag in dirt, water, snow, road salt, small rocks, and even sticky things like gum or tree sap. Not mention all the stuff we spill and drop on the floor that if not cleaned up in a timely matter can get ground into the carpet. The question then arises, “How do I clean vehicle carpet?”.
There are actually a myriad of ways to clean vehicle carpet, depending of what type, how dirty, one’s budget and what color the carpet is. We will go over some DIYer techniques and work our way to the most effective, safe, and professional way to clean your vehicle’s carpet.
How do you clean other things?
How do you most effectively clean your tile or hardwood floor in your home? What steps do you go though? If you want it done right, you probably have a certain order in which you do it in, right? Hopefully you don’t go right into mopping. Hopefully you de-clutter and maybe you take out the rugs, shake them, wash them (if needed). Maybe you move furniture to get those areas that never see the light of day but where dust and dirt go to take cover. Bottom line is that you want to do the best job possible. Even professional floor cleaners have a certain order in which they do things. Basically what I’m getting at is that when cleaning properly there are certain steps to follow. There is an order that you do things in. For example: the usual order for a proper tile or hardwood floor cleaning would be first sweeping and then mopping. After of course removing rugs and moving furniture as needed.
Cleaning the Vehicle’s Carpet and Fabric
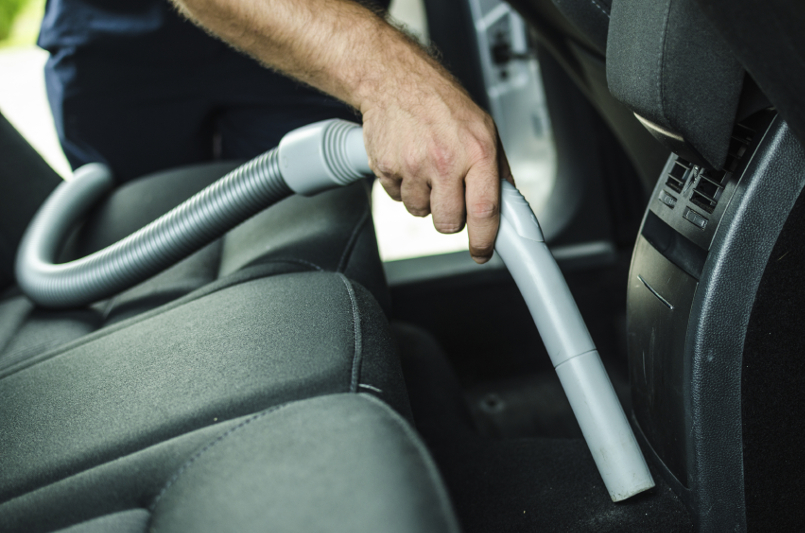
Carpet and/or fabric cleaning has a similar order, especially in vehicles. Vacuuming and shampooing (cleansing, rinsing and extracting). The first step before turning on a vacuum or extractor is taking out any and all floor mats. Some vehicles may have plastic or rubber mats that you will want to take out to clean separately. We will come back to those in a little bit. The next thing you want to do is decide where you are wanting to start. I personally prefer to start at one of the front seats, driver or passenger. After you decide where you are starting. Make sure the seat is moved appropriately. If you are starting in the front move the seat as far back as it will go. Make sure any trash and/or junk is cleared out, especially under the seat before you clean vehicle carpet. You will notice some of the most dirty areas are also areas that are more difficult to get to, especially for vacuuming purposes. A couple of those areas will include under the seat and the floor area between the seat and center console. If you have a long skinny vacuum attachment (a crevice tool) for your vacuum, it will help you do a better job in those hard to reach areas. Another area that can be forgotten or overlooked is the area in the back of the seat just under the backrest. To see what I’m talking about, move the backrest of the seat all the way back and you will see an area where much of the dirt, crumbs, and other debris has collected in that space.
When you are finished or have vacuumed to your satisfaction, move the seat all the way forward and continue vacuuming behind the front seat. Continue vacuuming around the car. Be sure to get under the seats and in the crevices of the seats and where the seat belt connectors are. If you desire to move beyond the cab of the car; the trunk is an area that can collect dirt and debris.
After you have vacuumed the car you come to the “mopping” or shampooing section and is probably the part where you will realize you may want to call a professional detailer to clean vehicle carpet. If you do not have the time or budget to have it professionally done, it will take some supplies and a little bit of elbow grease but you may be able to achieve some acceptable results. The supplies you’ll need are a spray bottle, a stiff bristled (not a wire brush), hand held scrub brush, and a shop vac with the capabilities to suck up water (most wet/dry shop vacs are strong enough to do this). You will want to get a carpet cleaning chemical or all purpose cleaner that is safe for use on carpets and fabrics and dilute it in the spray bottle (if it’s not in a ready to use form). A good amount is usually 4 to 1 or 5 to 1 depending on the chemical. This can be altered depending on the severity of the soiling and stains. You don’t want to go more than 2 to 1.
Note to self before beginning: This is for a pretty basic shampoo job. Again, I would recommend that you get this done professionally just because of experience and the use of proper equipment and chemicals will produce far better results. But if you really want to DIY, this will be a pretty basic shampoo.
You will begin by spraying the diluted degreaser on the desired area. To do the best job possible, you will want limit the size of the areas to work on. Starting in the front drivers seat is the best place to start because you’ll want to allow it as much time to dry as possible. After spraying, take the hand brush and scrub the area(s) you sprayed. If you need more moisture feel free to spray more as needed (depending on the severity of dirt and stains in the given area). After you have scrubbed the area thoroughly, you will take the shop vac and suck out as much cleaning product, dirt and moisture as possible in the area that you have been scrubbing. You will want to be sure to vacuum to the point of the carpet or fabric being as dry as you can get it. After that take a rag and scrub and press down on the same area to help wick out any moisture that you can.
You will repeat this throughout the rest of the car. When you are finished, you will want to check the carpet and make sure it’s as dry as possible. You will most likely need to leave all the doors open in a warm environment to allow the carpet to dry all the way. Check areas where moisture or the degreaser could’ve collected to make sure that it is as absorbed as possible.
How does it look after?
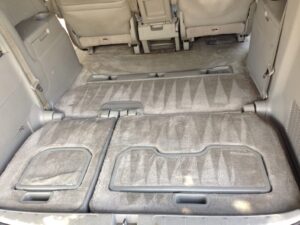
Hopefully after all this effort you’ve gone through, your clean vehicle carpet will be to your satisfaction. If you didn’t do any of that or aren’t happy with the way that it looks, CONTACT A PROFESSIONAL DETAILER!! You can’t say I didn’t warn you. If you’re brave enough to give it a shot, good luck, and I hope this helps. If not, give us a call and we’ll be happy to do that for you.
In the professional detailer steps the idea is the same although more effective tools and chemicals will be used. Depending on how dirty the carpet is there are additional methods that would be used. For example if gum is stuck in the carpet or if something like tar is embedded in the carpet. Professionals have heated extractors and or steamers that improve the cleaning power and effectiveness of the chemicals. The suction from a professional extractor is more powerful and has the proper attachments to be most efficient and effective to clean vehicle carpet.
I bet you can guess what I’m gonna say for really bad stains or soiled carpets. If you haven’t guessed “call Onsite Detail” yet, keep guessing. It will take more then what I have told you to get out tough stains. Some stains, if left for a long time may not come out at all. I’m not even going to try and tell you how to attempt it because in many cases, that could make it worse if the stain and dirt get pushed deeper into the carpet. That’s when having the right equipment, effective chemicals, and proper training come into play. Most of which cannot be obtained by reading a blog. As much as I’d love the ability to perfectly train someone over a blog, I wouldn’t be able to do it. I don’t think I’ve been blogging long enough to be able to do that quite yet…I’ll work on that though. We wish you success in any DIY efforts but if you want help or find yourself in a hard place please contact us and get your vehicle on our schedule for your detail.
by Andy Stallings, Operations Manager, Onsite Detail